
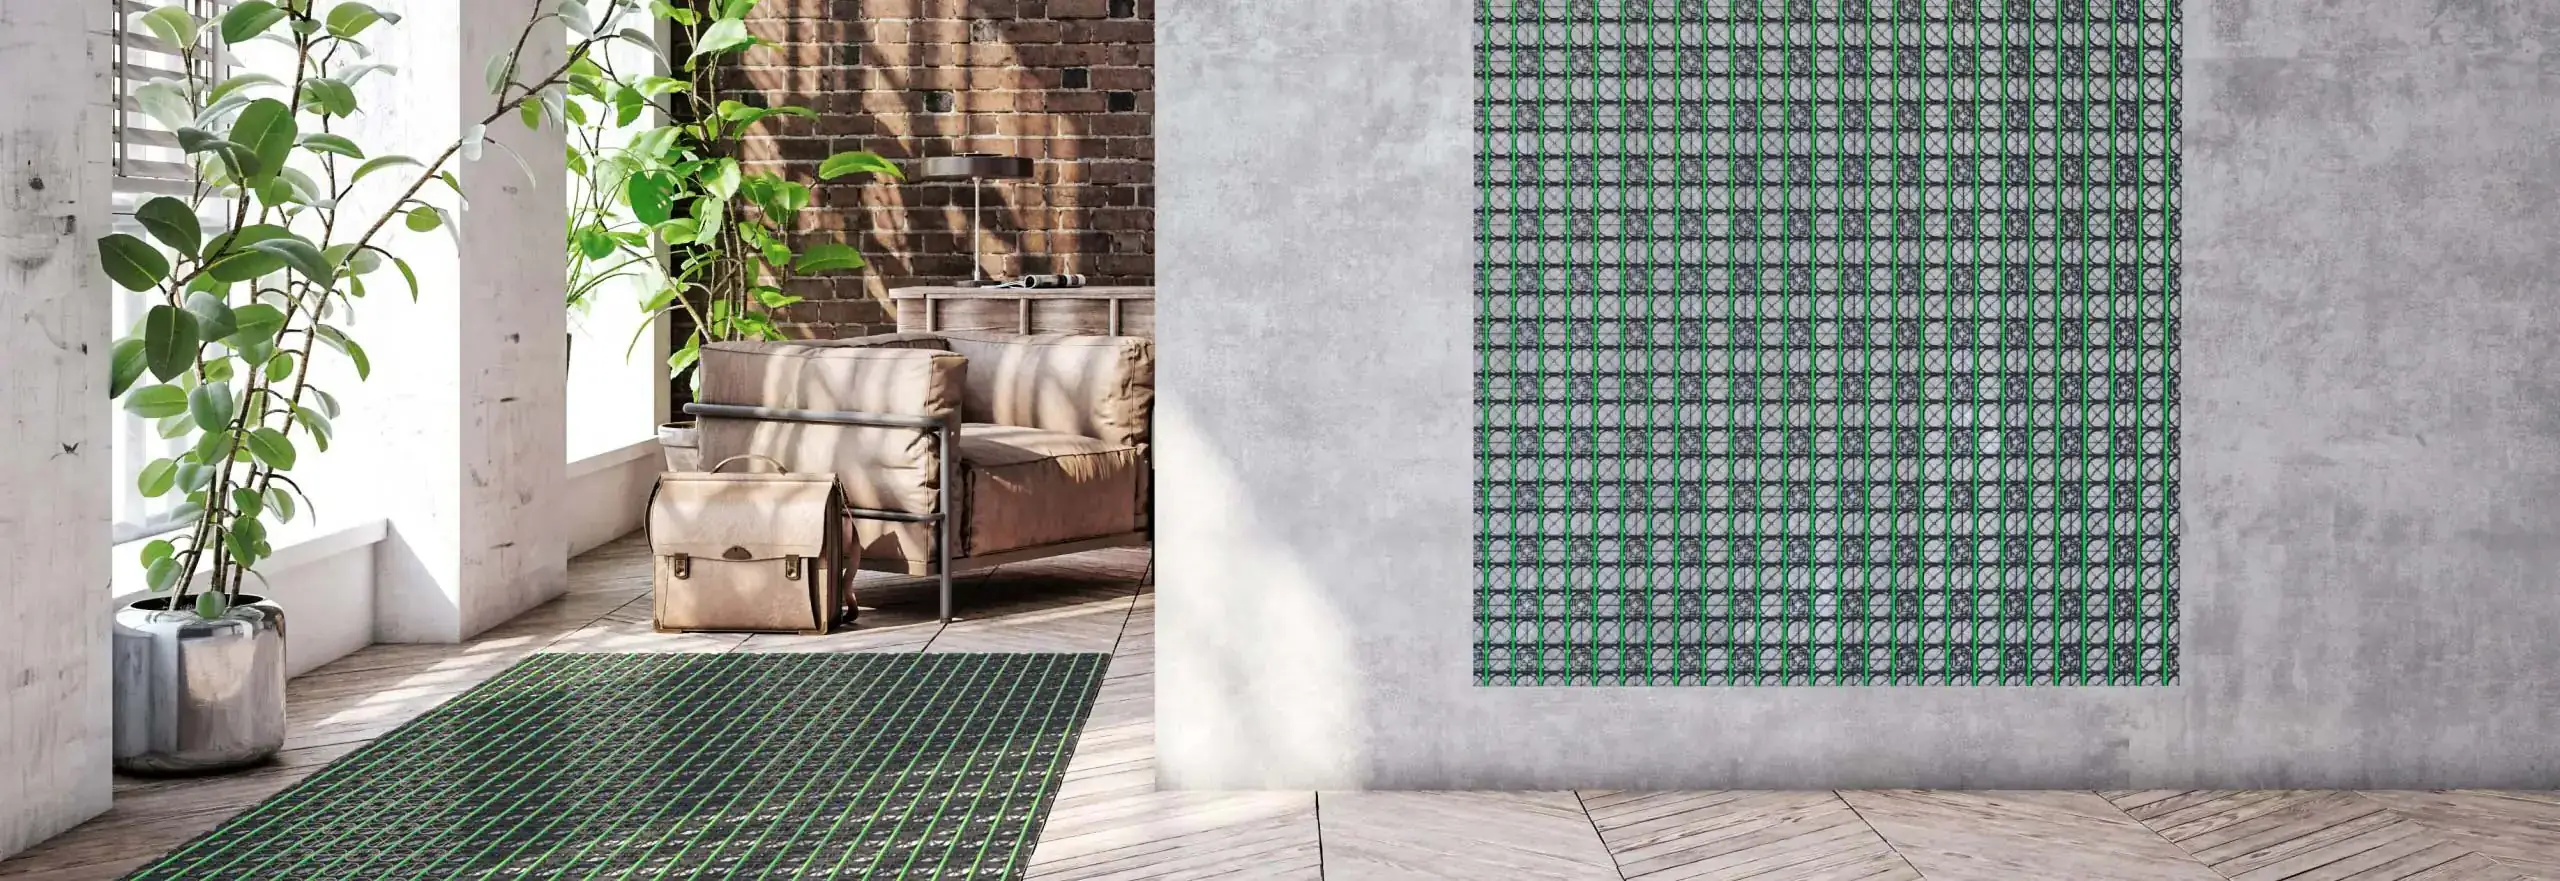
Wall, Ceiling & Underfloor Heating Installation
Get fast and efficient heating installation in just one day. Suitable for DIY projects or professional installation services.
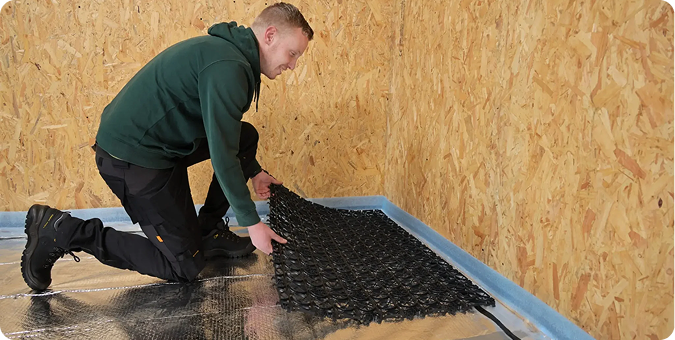
Installing Heating Systems in Floors, Walls & Ceilings
Installing underfloor, wall, or ceiling heating doesn’t have to be complicated. With the right system and guidance, the installation process can be fast, clean, and straightforward. At WARP Systems, we make water underfloor heating installation easy for both professional installers and DIY homeowners.
Our innovative plastic heating trays can be installed directly onto your existing subfloor, wall, or ceiling surface without cutting, demolition, or heavy construction work. No hacking, breaking, or drilling required.
Whether you choose to install the system yourself or work with a contractor, WARP Systems products are designed for quick and efficient installation. In many cases, the complete heating system can be installed within a single day
.
Install Underfloor Heating Yourself
Easy DIY Installation with WARP Systems.
WARP Systems makes it simple to install wall, ceiling, or underfloor heating yourself , no matter the room type or subfloor. Our water-based heating systems are designed to fit a wide range of surfaces and floor finishes, making them ideal for both renovation and new-build projects. Warp provides simple and clear instructions and installation videos.
Install Underfloor Heating in Just 1 Day
Fast, Professional Underfloor Heating Installation.
Enlist our help or ask your local installer to lay your system. Our SpeeTeam will assist you with a fast and professional installation, or we will put you in touch with an installer in your region.
Installing underfloor heating yourself: it’s that simple
Installing underfloor heating yourself is easier than you might think. Traditional heating systems often require extensive milling, heavy machinery, and thick concrete layers, making installation seem complicated and time-consuming. But modern underfloor heating solutions are designed to simplify the process, allowing both professionals and DIY homeowners to install them with ease. In the Netherlands over 60% of people install the system themselves as a DIY project
WARP Systems’ water-based underfloor heating has been specially developed for fast, hassle-free installation. The low-profile system helps you efficiently heat — and even cool — your home while maintaining maximum comfort. When combined with a heat pump, the system not only delivers energy-efficient heating during winter but can also help keep your home cooler in the summer months.
Whether you are renovating a single room or upgrading your entire home, underfloor heating offers an energy-efficient, space-saving, and comfortable solution for modern living.
.
- No specialist knowledge required
Easy-to-follow installation guides, video tutorials, and manuals make DIY underfloor heating simple for everyone - Save money on the installation
Cut installation costs by fitting your underfloor heating system yourself. - Fast delivery across the UK
Receive everything you need within 5 -7 working days, so you can start your project without delays - Complete underfloor heating kits
WARP Systems complete kits include all the components you need for a quick and hassle-free installation
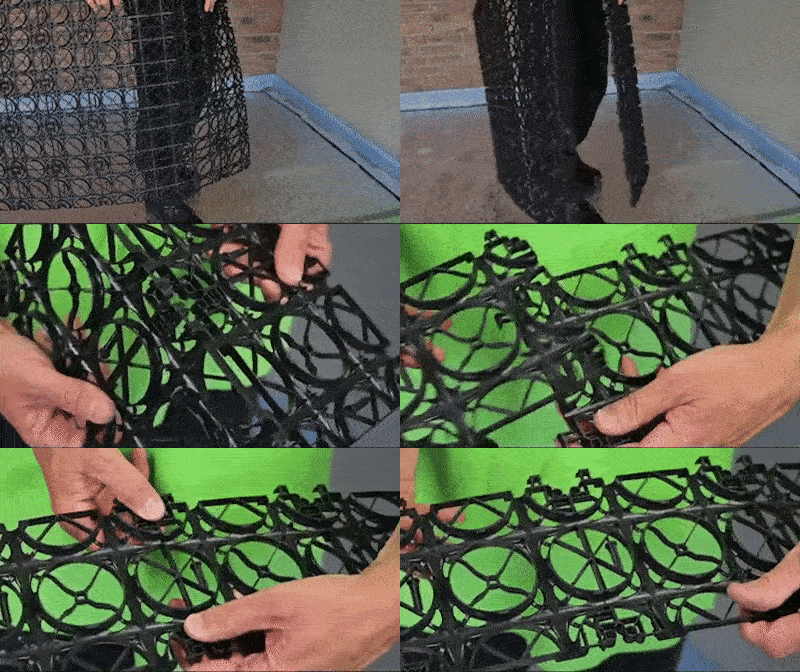
Click-break-slide system
WARP Systems’ systems always fit. SpeeTile features a click-break-slide system. You conveniently click the mats together, break them off by hand if they are slightly too long, and pull them apart slightly if you are just a little short on length. The SpeeTherm plates can also be easily cut to size so that the system fits the space perfectly.
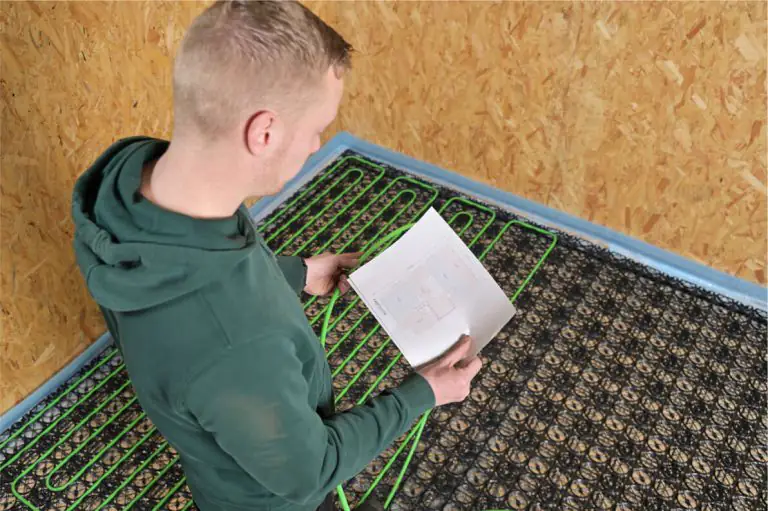
Sawing, cutting, or drilling is unnecessary
WARP Systems is a raised floor system with a low installation height. This makes it easy to lay over the existing floor. Drilling is therefore unnecessary, and the existing subfloor can simply remain in place. The systems are easily adapted for awkward areas reducing mess through cutting.
All the help you need
Here at Warp systems we have a dedicated UK based team to make your pre and post sale journey easy. From initial advice, quotation and design through to your installation, we are here every step of your journey if needed .
As we manufacture within our Mangum Heating Group we have full traceability and control of all our products
– just call us on 01887 822 023
What makes installing WARP Systems yourself so easy?
To give you an idea of how the installation works, we have explained the key steps for you (a comprehensive manual is included with the system).
Installing wet construction underfloor heating

Step 1: Clear the surface and clean the space
Clean the subfloor and remove any dust or dirt which is currently on the subfloor.

Step 2: Install a reflective foil ontop of your wooden or primed concrete subfloor.
This helps to increase the insulation in the subfloor allowing for more of the heat to be reflected up into the floor finish.

Step 3: Install edge insulation around the edge of the room.
This will allow for the floor finish to expand and contract.

Step 4: Place down the SpeeTile mats
Thanks to the innovative design of the SpeeTile click-break-slide system, you can easily click the mats together and break them apart with ease if they are too large and slide them slighty apart if they are too small.

Step 5: Securing the SpeeTile with screws to wood and with glue to a concrete subfloor.
The Speetile Mats have clear markings for where screws or glue can be placed to secure it down to the subfloor.

Step 6: Look at the layout plan and install the heating pipes.
The installation plan is custom made for your installation , showing clearly how and where the heating pipes are to be laid. The heating pipes simply click into the SpeeTile mats. (Please note this plan is only made after order and upon request)

Step 7: Install the manifold and connect the pipes.
All the heating pipes will lead back to the manifold. You need to cut the heating pipes down to size and by using our handy calibration tool to allow the couplings to fit on the pipes and then be connected to the manifold.
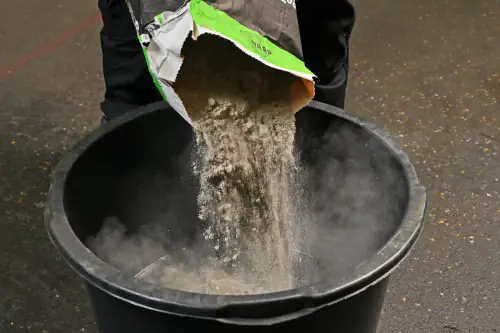
Step 8: Mix the self levelling compound.
Mix up the self levelling compound following the given instructions on the back of the Warp systems self levelling compound. (The self levelling compound is only provided at the quotation stage)
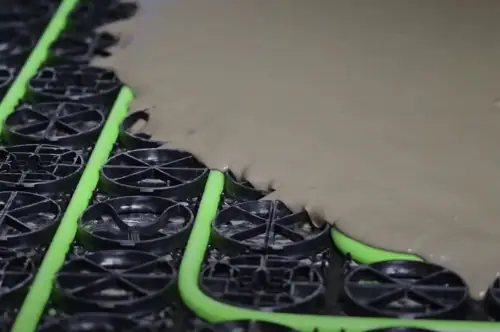
Step 9: Apply the filling compound
For a smooth surface , use the spiked roller over the filling compound. The Spiked roller helps to remove any air bubbles before the filling compound dries.
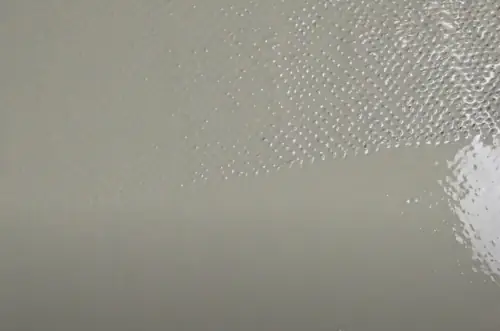
Step 10: Let the filling compound drying
If you are using the warps system self levelling compound then allow it to dry for a minimum of 4 hours before you walk on it. If you are using another brand of self levelling compound then follow the given drying time displyed on the package.

Step 11: Connecting your system to your Boiler or Heat pump
Connect the manifold to your Boiler or Heat pump, when you have done this you can start supplying hot water to your system.
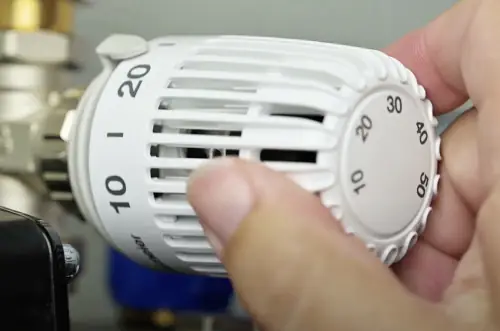
Step 12: Follow the startup protocol
Depending on the room temperature, this process can take between 48 to 72 hours for the system to first reach temperature. Allow the floor to then heat up and cool down over a period of 7 days as this helps to dry out the self levelling compound to prevent cracks from forming.
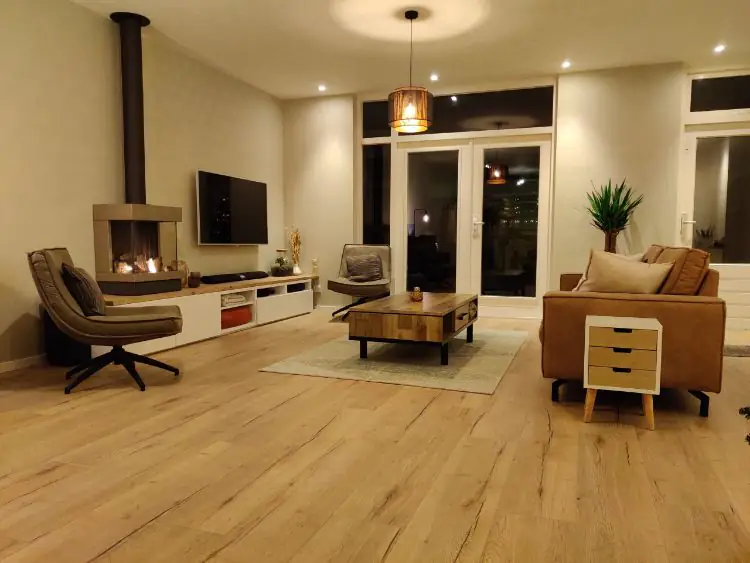
Step 13: Install your Floor finish
Once you have completed your start up protocol, you can install your floor finish. When the floor finish is laid you can now start using your system !
Installing dry construction underfloor heating

Step 1: Clear the surface and clean the space
Clean the subfloor and remove any dust or dirt which is currently on the subfloor.

Step 2: Place the EPS Sheets down 1 room at a time.
To prevent any damage to the EPS sheets, we would highly recommend to install it each room at a time before moving on to the next area. As this will stop any need to walk on the EPS Sheets. If the EPS Sheets are too large for your area then they can easily be cut down to size with a utility knife.

Step 3: Insert the AluTherm profile plates.
Press down firmly on the AluTherm profile plates into the EPS insulation according to the layout plan and do this again 1 room at a time (The plan is provided with the Water pipe layout and is only done after the goods have been brought and the plan has been requested.

Step 4: Installing the SpeeTube into the AluTherm
Start by pushing the Speetube into the AlumTherm profiles according to the layout plan. When installing, if there are no bends and you need to turn the pipe ? Then you can create additional bends with the optional EPS Burner. (This item is only supplied upon request during the quotation stage).

Step 5: Install the manifold and connect the pipes.
All the heating pipes will lead back to the manifold. You need to cut the heating pipes down to size and by using our handy calibration tool to allow the couplings to fit on the pipes and then be connected to the manifold.

Step 6: Connecting your system to your Boiler or Heat pump
Connect the manifold to your Boiler or Heat pump, when you have done this you can start supplying hot water to your system.
Step 7: Clear the surface and clean the space
Remove everything in the room and ensure there is no dust or dirt.
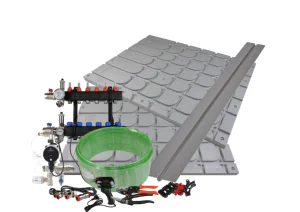
This is what you need to install underfloor heating yourself.
Get started quickly with complete DIY kits that provide everything you need in one go.
To make it easy for you, we have put together complete DIY kits. In them, you will find everything you need for your system. This way, you can be sure you have everything for your project. An additional advantage is that you know exactly what the total investment is. There are no extra costs. Do you already have certain parts at home? Then simply omit them from your order and order only what you need. Choose the system that fits your home and get started!
Wet-construction underfloor heating set
When do you choose SpeeTile?
SpeeTile is an innovative, modular click system made of plastic mats into which the heating pipe is clicked and finished with a thin layer, such as SpeeTop. The system is highly suitable for renovations due to its minimal installation height and can be used multifunctionally for floor, wall, and ceiling heating.
- Thin system with a build-up height of 1.5 cm
- Suitable for concrete and stable wooden subfloors
- Suitable for floating, glued, and cast floors, such as PVC and cast floors.
- Suitable for floor, wall, and ceiling heating
- Water-based system suitable as primary heating
- Can also be used to cool the home in combination with a heat pump.
Dry-construction underfloor heating set
When do you choose SpeeTherm?
SpeeTile is an innovative, modular click system made of plastic mats into which the heating pipe is clicked and finished with a thin layer, such as SpeeTop. The system is highly suitable for renovations due to its minimal installation height and can be used multifunctionally for floor, wall, and ceiling heating.
- For when you want to put your system into use as soon as possible: SpeeTherm is dry construction without drying time.
- Suitable for floating, rigid floor coverings such as laminate and parquet
- Suitable for concrete and (unstable) wooden subfloors
- Suitable for underfloor heating
- Water-based system suitable as primary heating
- Can also be used to cool the home in combination with a heat pump.
Are you interested in becoming a recommended Installer?
We are looking to build our network of recommended installers throughout the UK and are looking for qualified plumbers and installers so we can recommend to partner us and our customers install their underfloor heating systems – contact us if you are interested
-
Yes. WARP is especially strong in renovation thanks to its low build-up systems, practical installation approach and solutions for both dry and wet construction.
-
Yes. WARP is especially strong in renovation thanks to its low build-up systems, practical installation approach and solutions for both dry and wet construction.